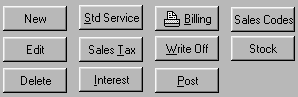
Two different buttons lead to billing. If you want to bill a single case, you would use the Billing Button at the top of the Contract Screen.
If you want to bill a batch of cases, you would first click on Report from the A/R PRO or P/N PRO Find a Funeral Screen.
Then you would use the screen that appears to identify the batch,
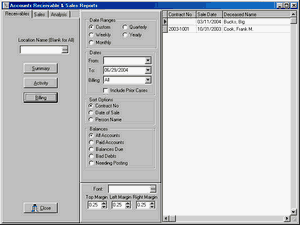
and then click on Billing. This brings up the same screen that appears when you select billing from the Contract Screen.
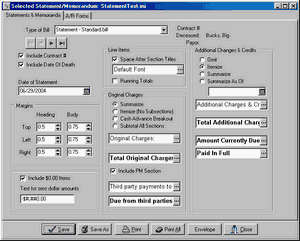
Several predefined Billing Formats are provided. Use the Type of Bill Field to select one.
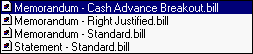
Memorandums print the transactions from the Original Contract while Statement include the Additional Charges and Credits. We suggest you begin by printing out each of the predefined formats to see which you like best. As you do so, you will see that selecting a Type of Bill fills in the various fields in the Billing Screen.
Below the margins fields, you will find a section headed Location Name. In our formats None has been selected which would be appropriate if you are printing on your letterhead. Of course, you may have to adjust the top margin to bring the printing down below your pre-printed heading. If you wish to print your bills on plain paper, you can change this field to print your main office name and address or the name and address of the particular location which handled this service. Clicking on the triple dots will allow you to change the fonts.
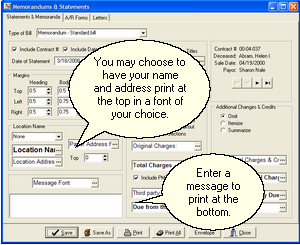
A message area is in the lower left hand corner. Several special key words are available for your use in messages. <date> will be replaced with the current date. <sold> will become the contract date. <grace> will become the date interest begins. <due> will become the current balance. <apr> will become the interest rate.
After you have selected a format (or formats) that you will use, you may change the fields and Save them or use Save As to give your own name to the modified format. For example, you might choose to use Save As to create a series of statements with messages of increasing severity to use as the case becomes older.
With the format selected, click on Print to bring up the Printer Dialog.
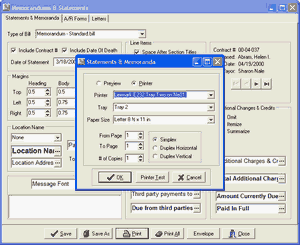
Set the Destination to Printer or Preview, set the tray and the number of copies, and click OK.