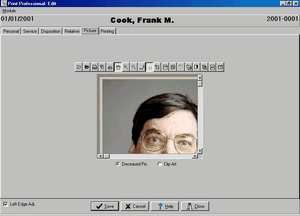
The Picture Tab communicates with TWAIN compliant scanners to acquire pictures. It also lets you manage Clip Art by moving the selector below the picture from Deceased Pic to Clip Art.

As you move your mouse over the icons, they will tell you what they do. For example, the first icon is for opening files. You would use this if the picture had already been scanned and was on your computer as a file. The second icon saves pictures to a file format. The program will save the pictures into a database and you do not need to also save them as a file unless you want to use them in other programs. The third icon will print the image. The fourth icon triggers your scanner while the fifth allows you to specify which scanner to use. Next are several icons that deal with zooming and the clipboard. Then there are icons to invert or rotate images. The final icon leads to the effect manager.

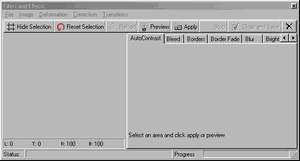
This screen provides advanced options to alter your picture. Some of the choices are fairly obvious in meaning; for example, Borders allows you to enclose your picture with a border and to specify its shape and color. Other choices are mysterious, and experimentation is the best way to learn what they do. We have included help topics written by the author of the effect manager (we purchased this part of the program from an outside company) which may be helpful if you wish to explore the advanced options.
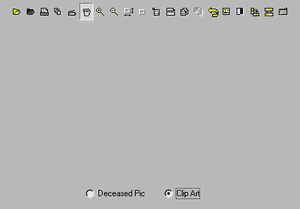
Changing the selector to Clip Art produces:

Once again you have a row of controls. Clicking on the first icon will open folders.

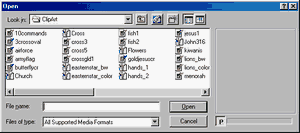
This displays the images the Clip Art folder. It is not necessary to select the Art you wish to use here. This is the place where you work with your images. You could delete an image, rename it, or open it and use the controls to add effects. You use Advanced to control the actual image printed in a particular print job.
You can use the Scan Image Control to add images to this folder. You could also download images from the internet or purchase them on cd and place them into this folder.